Acting Materials: Headshot, Resume, & Reel for Film & TV
Polishing Your Acting Materials: Headshot, Resume, & Reel for Film & TV Success
 Success in the competitive world of film and television requires more than just talent; it demands a professional presentation. Consequently, your acting materials—the headshot, resume, and reel—serve as your essential business card, marketing package, and audition on paper. Furthermore, they are the primary tools casting directors and agents use to assess your suitability for a role. Therefore, having highly polished, industry-standard materials is absolutely crucial.
The Foundation: Your Headshot
First and foremost, your headshot is your most vital marketing tool. Truly, it is the first thing a casting director sees. A great headshot captures your unique essence and truthfully needs to represent your current look. Specifically, it must be a professional, high-resolution photograph. If you’re handing out a physical copy of a headshot, generally the standard size is 8×10 inches.
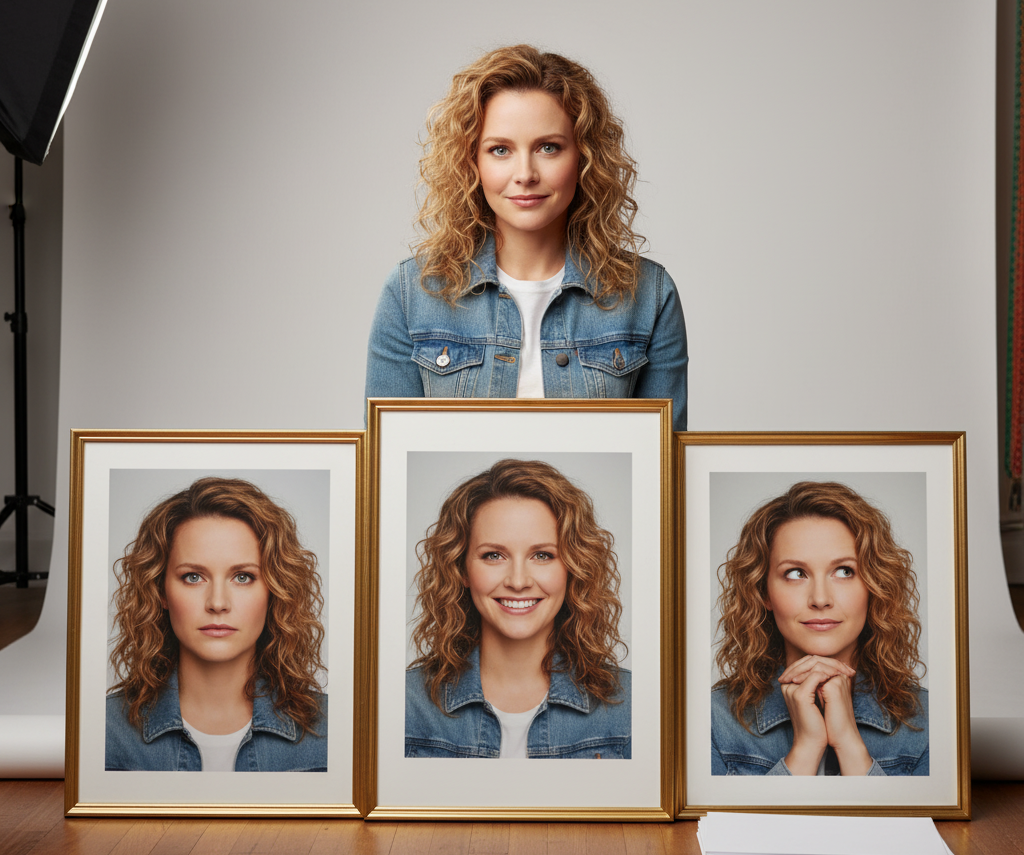 Your headshot should clearly convey your primary type or “brand.” Consequently, many actors need several contrasting shots. For instance, you might need a dramatic shot, another one for commercials, and one that fits a specific character type. Choose expressions that are engaging and authentic. Remember: Avoid distracting clothing or backgrounds. Moreover, ensure your hair and makeup are natural and flattering.
Detailing Your Acting Materials: The Resume
Next in importance is your acting resume. This document is a professional log of your experience and training. Crucially, it must be formatted correctly. Always print your resume on the back of your headshot or attach it neatly.
The industry standard format includes several key sections:
- Contact Information: Your name and agent’s contact info (if applicable).
- Physical Stats: Height, weight, sizes, hair color, and eye color.
- Film & Television: List credits, including the project title, role type (e.g., Guest Star, Co-Star, Principal), and the production company or network.
- Training & Education: Include acting coaches, acting classes you are on-going or took for a while (no workshops).
- Special Skills: Be honest and specific here. For example, “Stage Combat: Rapier & Dagger,” or “Conversational Spanish.”
Proper formatting for your acting resume can be downloaded on Backstage.
Keep it concise and easy to read. Moreover, never embellish your credits.
Showcasing Your Skill: The Demo Reel
Finally, the demo reel is your action-packed highlight tape. Essentially, it is a video montage of your best, most professional work from acting roles you’ve done from film and TV projects. This is perhaps the most powerful of all acting materials. A strong reel proves you can work professionally on camera.
Generally, your reel should be short and punchy—ideally between one and three minutes long. The first 30 seconds are the most critical. Therefore, put your very best clip right at the beginning. Focus on high-quality footage where you are clearly visible and sounding good. Include scenes that showcase your best acting moments and your primary “type.” Furthermore, ensure the editing is seamless and professional. If you lack professional credits, consider commissioning a “scene creation” service. This provides professional-level content for your reel. However, as your career progresses, you must replace these with real credits.
Using Self-Tapes for Reel Footage
If you lack professional film and TV credits, there are still ways to build your reel. Don’t wait for professional credits to start compiling footage. You can use your strongest, most well-produced self-tapes. Select the tapes where the lighting is excellent and the sound quality is crisp. Choose scenes where you give a compelling, authentic performance that clearly matches your casting type. These clips show casting directors your on-camera readiness.

Maintaining and Updating Your Toolkit
Your acting materials are not static. You must update them regularly. Always get new headshots when your look changes significantly. Similarly, add new credits to your resume immediately after booking them. Finally, edit your reel whenever you secure a substantial new on-camera role. In conclusion, remember that consistent professionalism will set you apart. Take the time to invest in these crucial tools and give yourself the best possible chance for success.